EOLRC - Build Guide
Note that this is not a build guide of the car itself. Rather, how to integrate the 3D printed parts with the plane parts for your own projects.
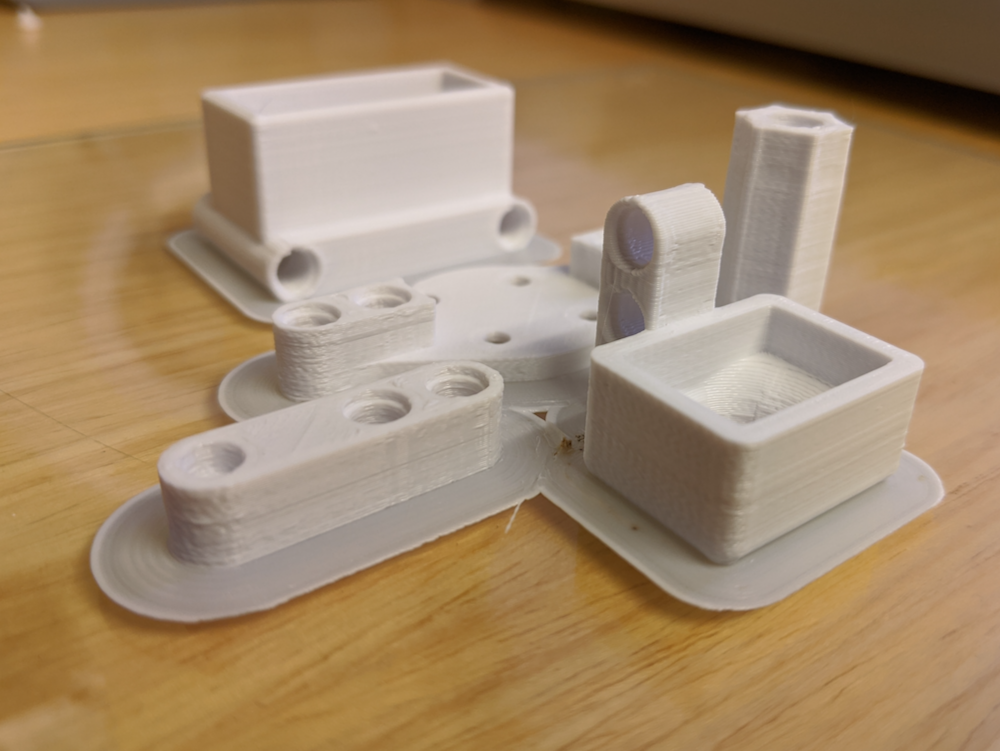
Printing the parts
The parts can be found in the plans GitHub repo.
I recommend printing the All_parts_arranged.stl
I used an Ultimaker 3 to print the parts with eSun PLA+ at a 0.2mm layer height at 215C, 35% infill, along with a PETG brim for easy cleanup. They were printed relatively slow at 60mm/s.
The print took about an hour and a half and used under 20 grams of filament.
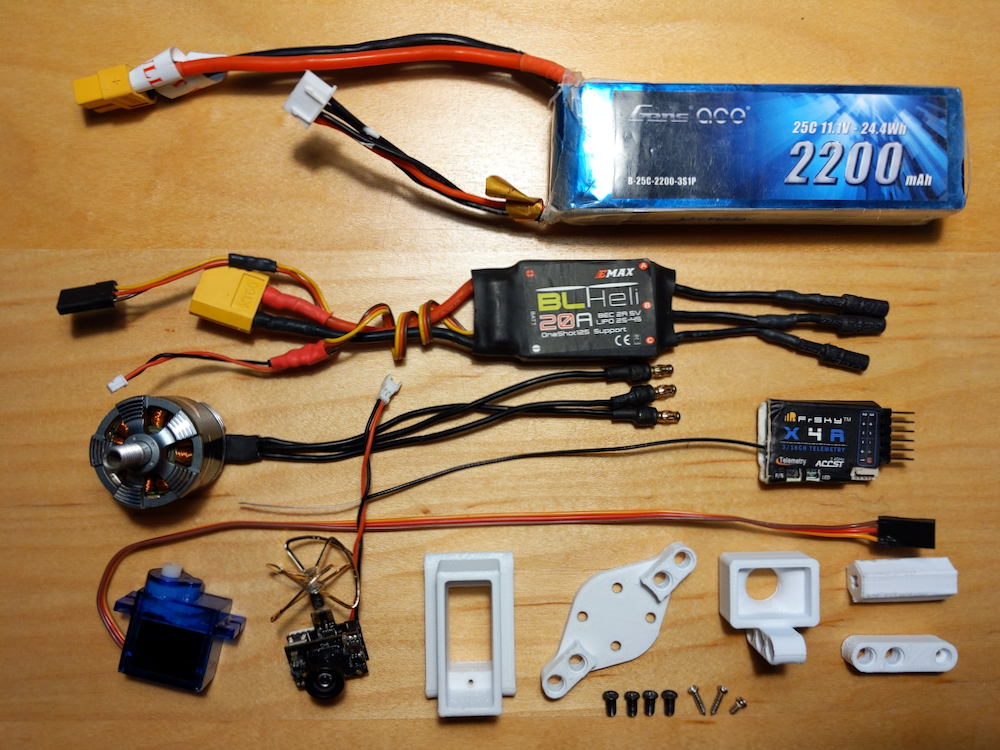
Bill of parts
- Part (what I used)
- Battery (3S1P 2200mAh LiPo)
- Electronic speed controller (BLHeli 20A brushless)
- Motor with a 16mm by 19mm mounting screw arrangement (Flite Test Radial 2212-1050kV)
- Radio receiver (FrSky X4R)
- 9g servo (some cheap one off Amazon)
- All in one FPV camera (AKK 40CH 5.8G 0/25/50/200mW Switchable Micro AIO FPV Camera)
- 3D printed parts
- Screws (All of these come with the servo and motor)
- 4x cone-shaped motor screws
- 2x long servo screws
- 1x short servo screw
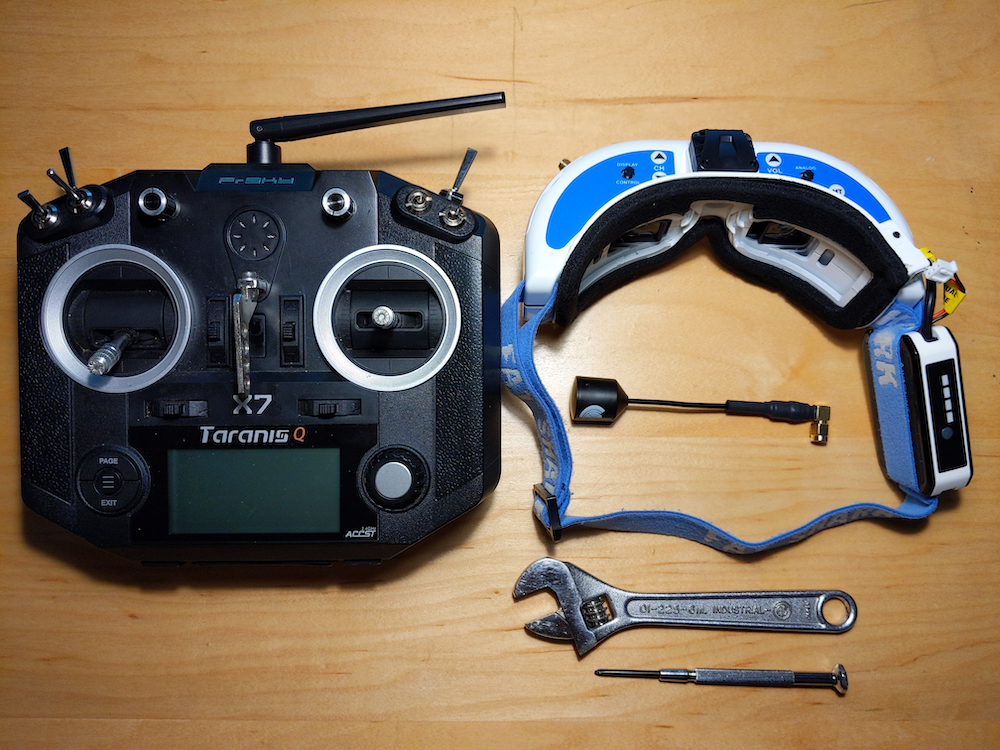
Bill of tools
- Adjustable wrench
- Phillips No. 1 screwdriver
- Radio control transmitter/remote
- FPV goggles with a 5.8GHz system
Let's put the parts together damn it!
Step 1 - Binding the receiver
Make a new model with zero trims. Check with your manufacturer's instructions on binding the radio with the receiver.
We'll need this for a later step.
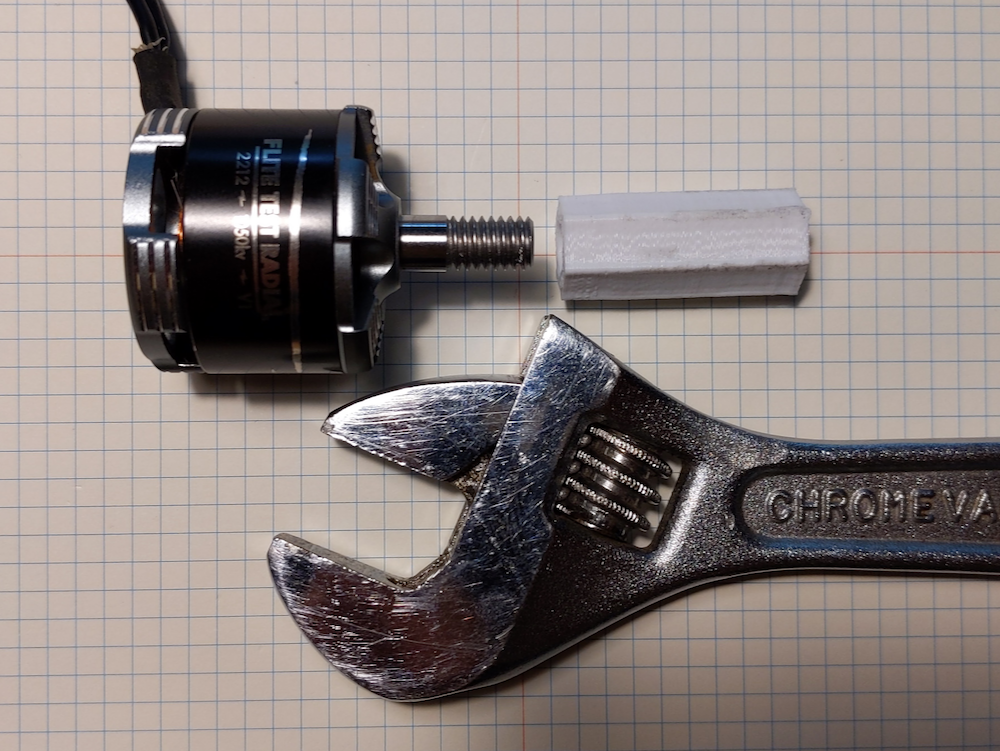
Step 2 - Attaching the motor to axle adapter to the motor
Parts/Tools
- Motor with a 16mm by 19mm mounting arrangement
- Motor to axle adapter
- Adjustable wrench
You can use additional tools for this, but be careful to not misshape the motor bell. I totally haven't done that before.
Steps
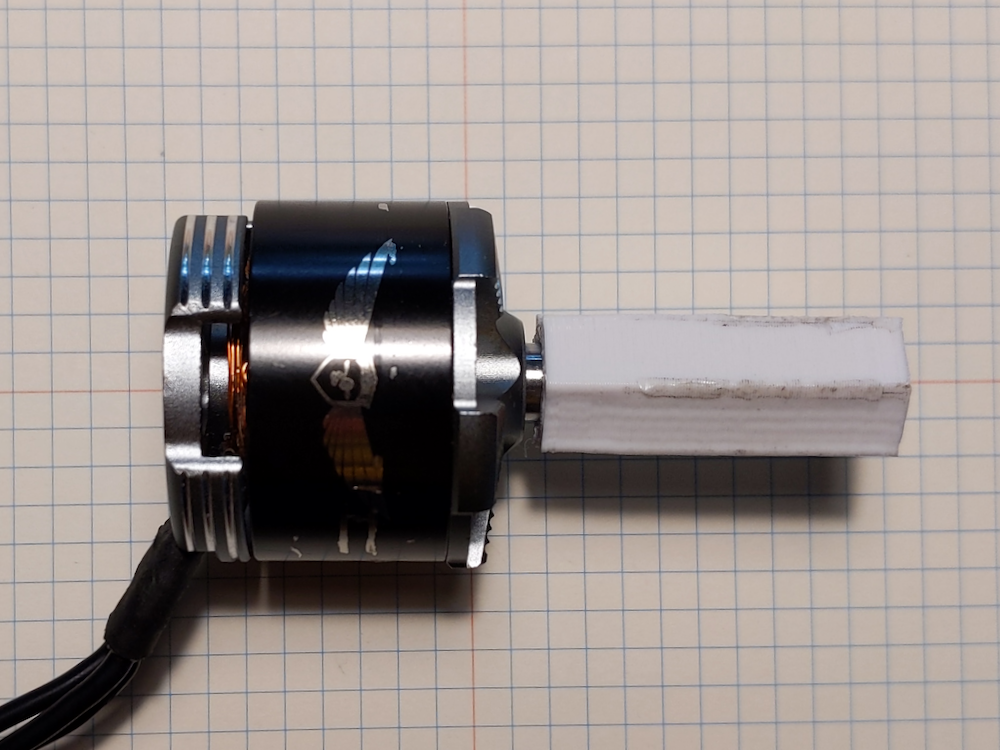
- Screw on the motor to axle adapter onto the motor while making sure that it is screwed all the way down.
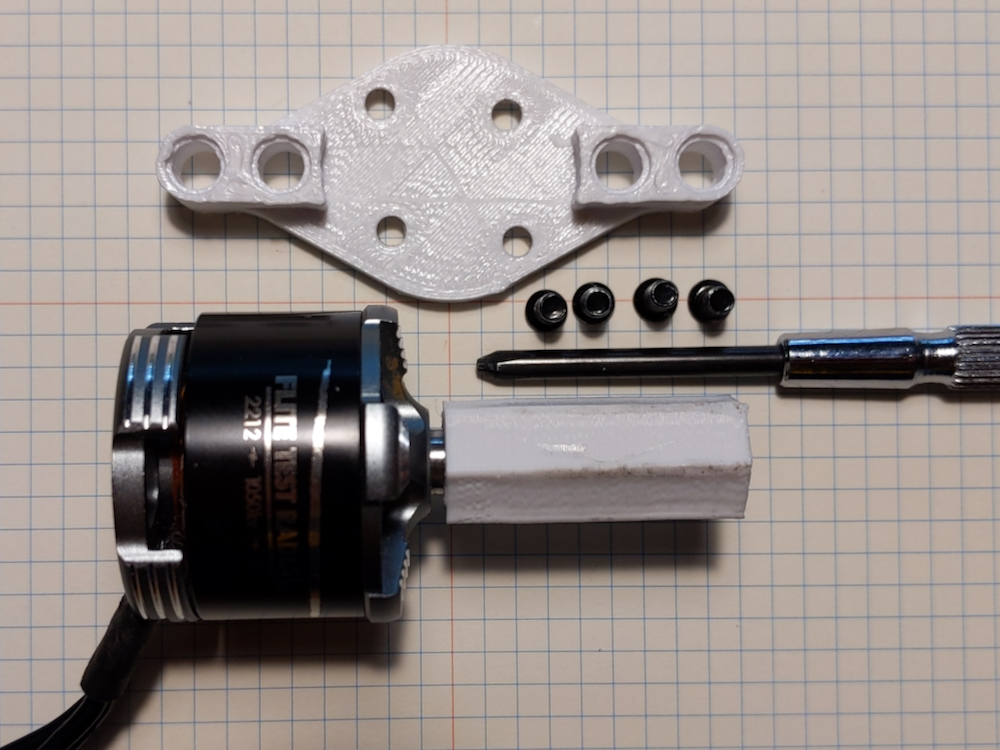
Step 3 - Affixing the motor to the motor mount
Parts/Tools
- Motor from step 2
- Motor mount
- 4x cone-shaped motor screws
- Philips No. 1 screwdriver
Steps
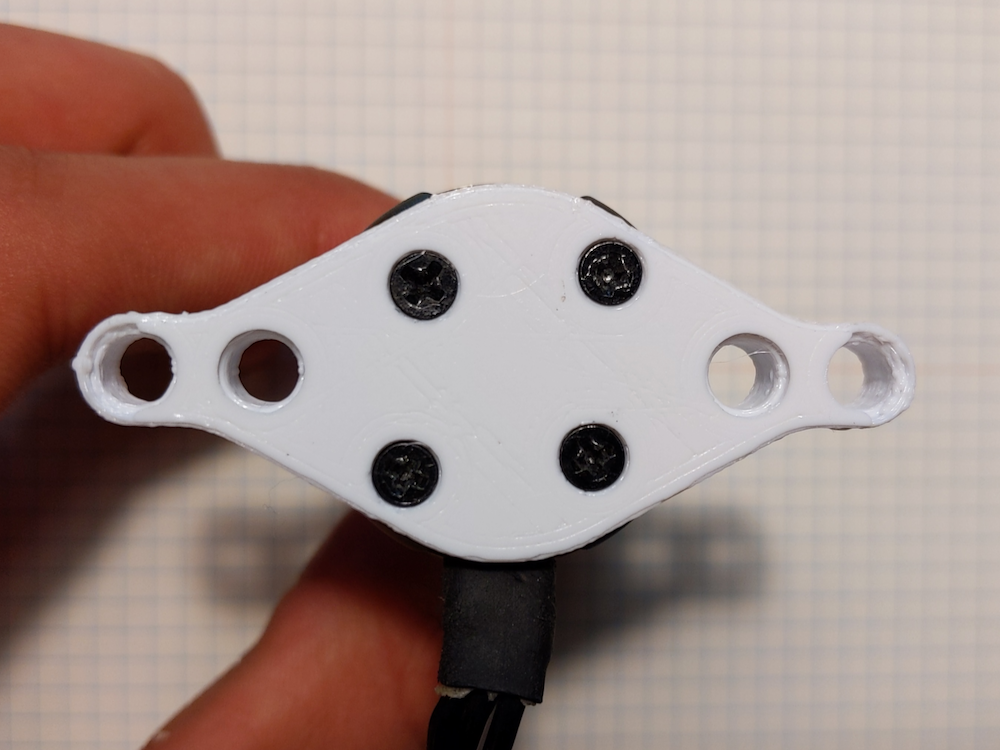
- Attach the motor to the motor mount using the screws
Step 4 - Mounting the servo to the servo holder
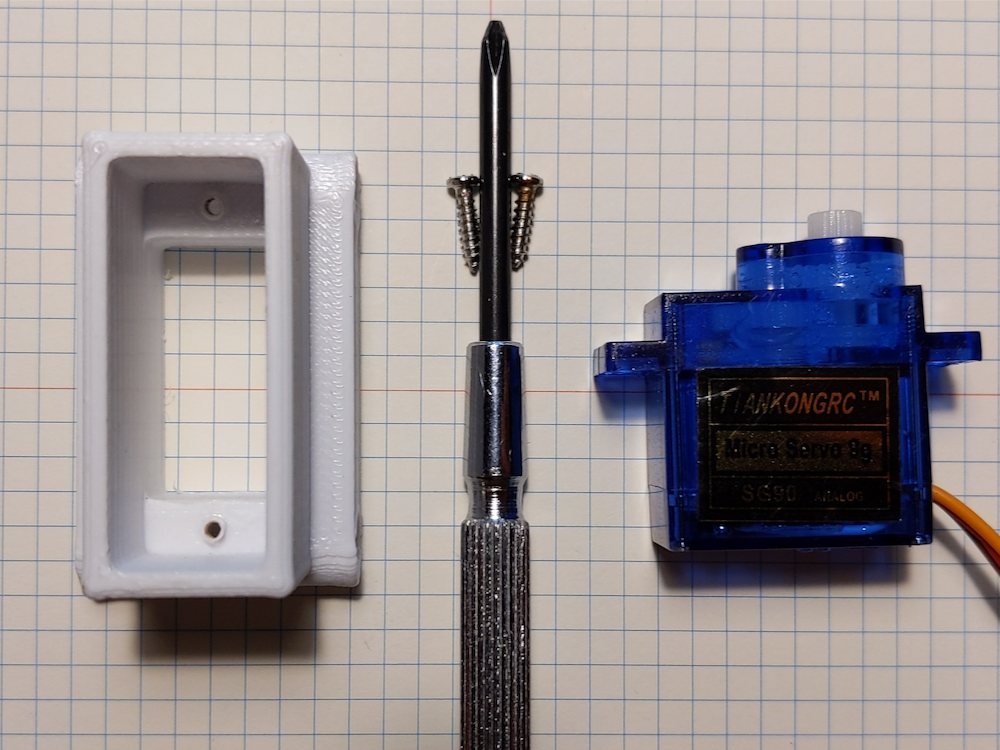
Parts/Tools
- 9g servo
- Servo mount
- 2x long servo screws
- Philips No. 1 screwdriver
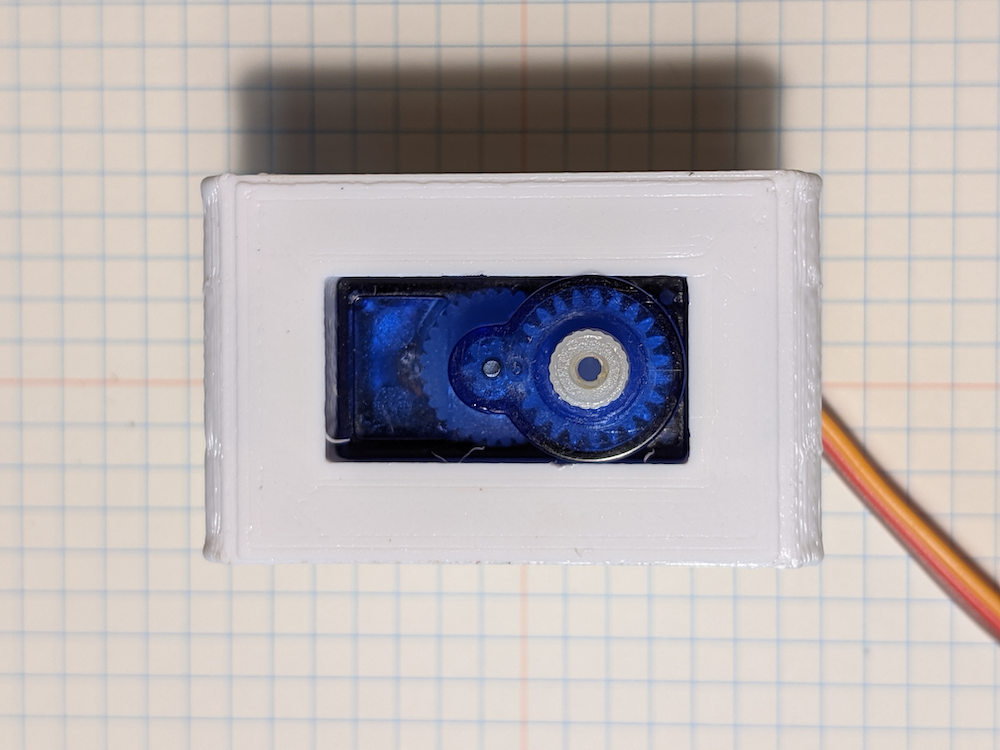
Steps
- Push the servo into the mount until it is flush
- Screw in the screws to secure the Servo
Step 5 - Securing the servo arm to the servo
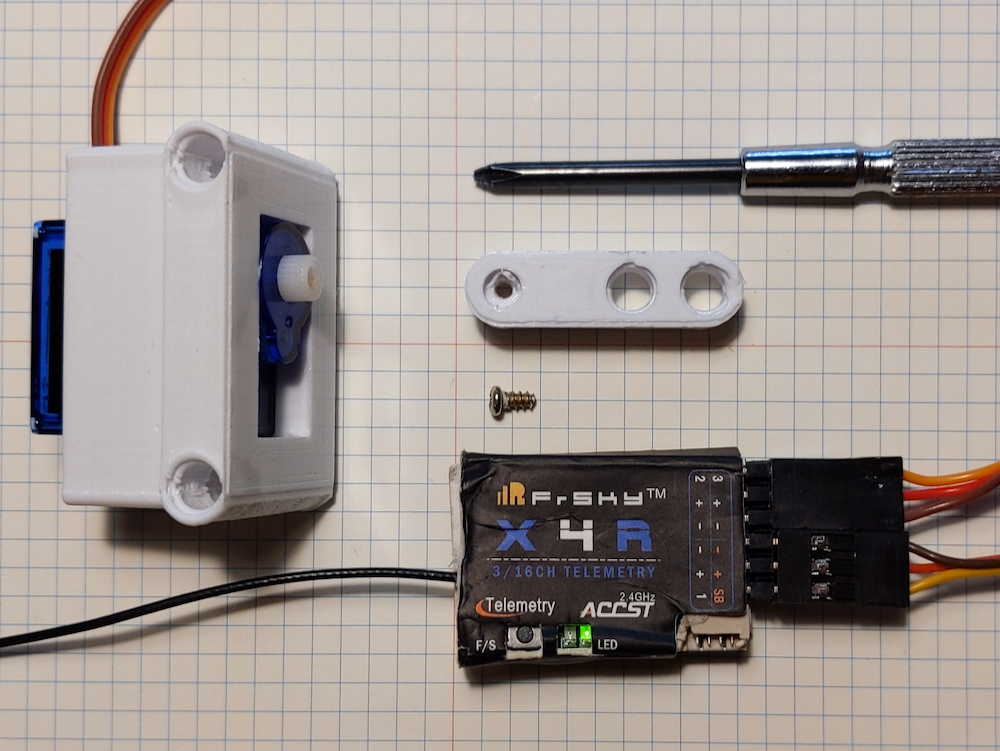
Parts/Tools
- Radio receiver
- Battery
- Electronic speed controller
- Servo assembly from step 4
- Servo arm
- 1x short servo screw
- Philips No. 1 screwdriver
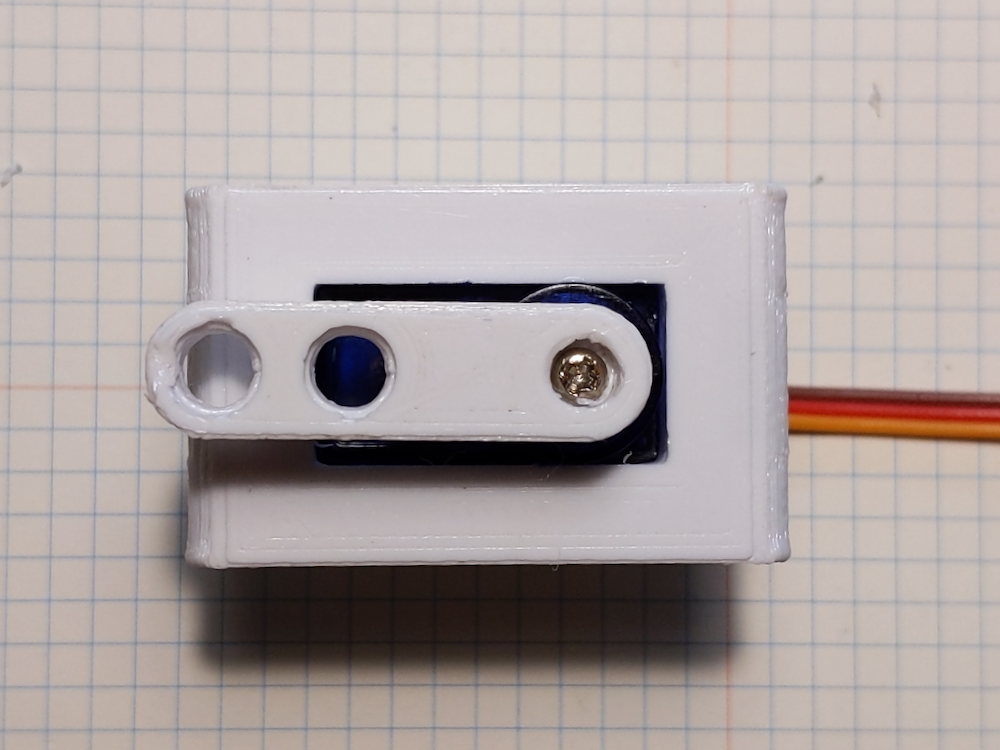
Steps
- Plug the battery into the electronic speed controller
- Power on the radio receiver using the electronic speed controller
- Plug the servo wire into the second channel of the speed controller
- Turn on the radio controller, it should connect to the radio receiver
- Test that the servo works by moving the sticks on the controller
- While leaving the sticks of the radio centered, line up the servo arm parallel to the long side of the servo mount and screw it in. (This is so that the servo arm is centered)
Step 6 - Fixing the AIO FPV camera to the camera mount
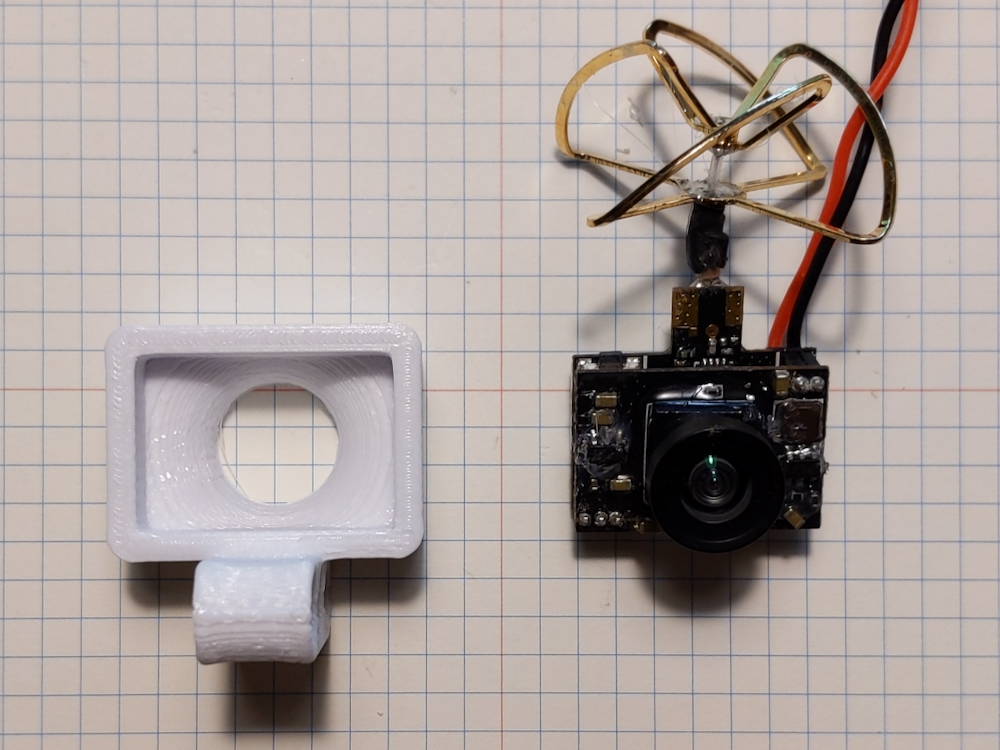
Parts/Tools
- AIO FPV camera
- Camera mount
- Hot glue (optional)
Steps
- (Optional) Put hot glue inside the camera mount. This will secure the camera much more than just pushing it in and having it stay attached due to friction.
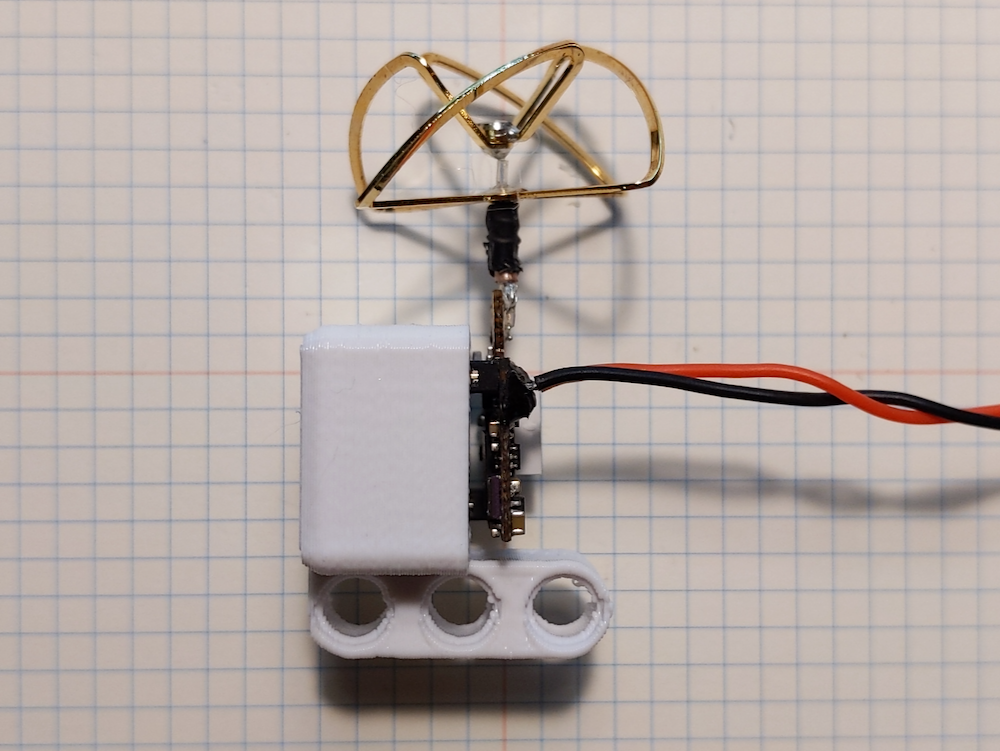
- Carefully yet forcefully push the camera into the Camera mount. The camera lens should be flush with the exterior of the mount.
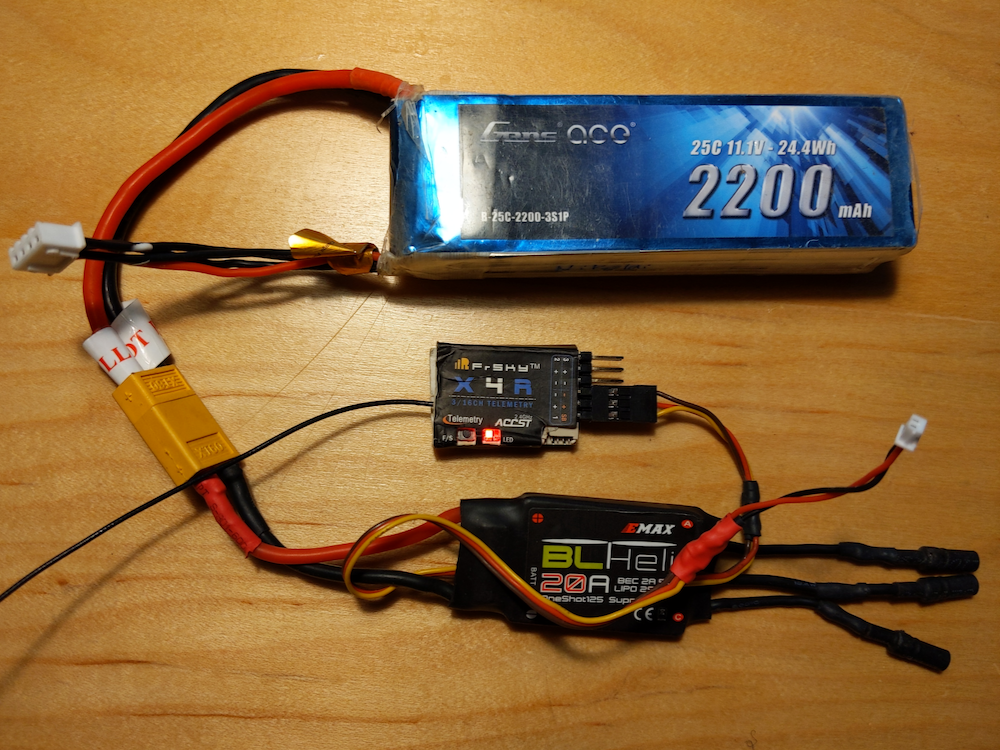
Making sure that the whole system works
These gifs were recorded through the FPV camera, so at least I know that that works.
With everything properly wired up, it was time to test all the parts.
- The three motor cables were joined with the ones coming out of the electronic speed controller (ESC)
- The ESC cable was plugged into the first channel of the receiver
- The FPV camera was plugged into 5V BEC output of the ESC, for which I made a custom splitter
- The servo cable was plugged into the second channel of the receiver
- Obviously the battery was plugged into the ESC
When I moved the left stick of the controller vertically, the motor span up. When I moved the right stick on the controller horizontally, the servo turned.
If you want to reverse the motor direction, just swap any two of the three motor wires
What next?
Congratulations, you're finally done. Now give yourself a big pat on the back
Let your imagination run wild! As they say: the sky is the limit!