How to Build a Website: A Guide for Command-Line Novices
Formerly titled: How to Build a Website for Your Studio (or Anything): A Step by Step Guide
Introduction
This guide is intended for Macintosh users who have never programmed before. With a bit of searching, the same steps can easily be applied to Windows and Linux machines.
Most will agree that a book is judged by its cover—for better or worse. Websites are the covers of your studio, organization, or even yourself, which are the books. Well-constructed websites build credibility and legitimacy. They are the bridge between your members and the outer world. A good-looking, well functioning website is essential to making your mark in the modern world. In contrast, a poorly built website can have the opposite effect, negatively affecting your reputation.
The key to a great first website is simplicity and understanding how all of the gears of the machine mesh together. Like learning a hyung for the first time, this guide will give you the order and intended moves. It is up to you, however, to experiment and envision applications for these moves. Following this guide, you will build a great, simple website for anything you want to using the Hello Friend NG theme by Djordje Atlialp.
If you’ve never used the command line, there’s nothing to be afraid of. I guarantee you it will soon become your preferred way of doing things.
Part 1: Initial Setup
The website made from guide can be viewed at: https://inspiring-thompson-3f793d.netlify.app
The repository I made following this guide is at: https://github.com/NikolaiTeslovich/testsite
The first step is to go to GitHub and sign up for an account, which is where the website will be stored on the cloud. GitHub is an online implementation of Git, which is a version control system. A version control system is a kind of software that helps the developer efficiently communicate and track all the changes that have been made to the code, or website in our scenario. Since it tracks every change, any of the changes can be undone, this means that you shouldn’t be discouraged to play around with your website!
Once you have your account created in GitHub, make a repository by pressing the “new” button. A repository is a folder to store your project in. Pick a repository name that is brief. The description can be filled if you would like. I suggest making the repository public, but it won’t affect the website’s functionality. A README file (in which you can document your project) is not necessary. Please choose an appropriate license. If you want to open-source everything, use the MIT license. For more information about licenses, visit https://choosealicense.com/.
With that done, open the Terminal application. Here is what it looks like:
Code starting with a “>” should be copied and pasted into the Terminal, followed by pressing the “enter” key. Code without the “>” should be edited in a code editor.
- Before we can use Terminal to its full potential, some tools need to be installed that will allow us to make the website. You will be asked for your password, and this process will take several minutes. Go outside, for once, while you wait for this to complete. The first tool being Xcode, which is installed with:
> xcode-select --install
- Next, we will install Homebrew, which is an open-source package manager. In other words, it automates the process of installing and keeping software up to date. Install it with the following command:
> /bin/bash -c "$(curl -fsSL https://raw.githubusercontent.com/Homebrew/install/HEAD/install.sh)"
- A static website contains web pages with fixed content, so each page displays the same information to every visitor. Static sites are the most basic type of website and are the easiest to create. Let’s install Hugo, an open-source static site generator, which is the skeleton of the website:
> brew install hugo
- Then, we need something to edit the code with! While we could use something like TextEdit, using a tool specifically designed for the job—such as a dedicated code editor—is better. I recommend Atom, but Visual Studio Code works just as well. After deciding which one you’d like to use, instead of manually downloading it and going through the installer, either can also be installed with Homebrew:
> brew install --cask atom or > brew install --cask visual-studio-code
Part 2: Creating and Working on Your Website
- Duplicate (clone) the repository onto your computer. Use the url in the search bar of your web browser as the “repository-link”:
> git clone repository-link
- Create a folder for your website with Hugo (name it in one word for simplicity):
> hugo new site mysite --force
If you accidentally make a mistake in your spelling, the folder can be removed with:
> rm -rf mysite or > rm -rf 'my site'
- Enter the project folder through the terminal:
> cd mysite
“cd” is a way of telling Terminal to go into a folder, which in my case is the “mysite” folder. For more information about these, and other useful commands to do all sorts of things with folders, visit: https://www.javatpoint.com/linux-directories
- We will import the theme into the project folder as a submodule. All we are doing in this step is linking the theme project inside of your website, meaning that everything inside of that folder will be up to date, which is good for bug fixes and security improvements:
> git submodule add https://GitHub.com/rhazdon/hugo-theme-hello-friend-ng.git themes/hello-friend-ng
- Let’s start up your website! While still in the repository’s folder, we’re going to start Hugo and access the website locally, meaning that it is not online yet:
To learn more about Hugo commands, visit: https://gohugo.io/getting-started/usage/
To view the website on your web browser, visit the local port at http://localhost:1313/. It will update with every change you make in the code editor.
If at any point you need to type something into the command line while the server is running, like when you want to make a new post or publish the website, press “control” and “c” at the same time on your keyboard to stop the server. The server can be resumed the same way that it was started in step 5.
Now, you will surely notice that something is off. Is it a blank page? Yes it is, because we never touched the config.toml file. This is the place where you tell Hugo how to show and configure the website. So, in your code editor, open up the website project and navigate to config.toml. This is what it should look like:
baseURL = "http://example.org/"
languageCode = "en-us"
title = "My New Hugo Site"
… there is barely anything there.
To fix this, in the place of these three lines, simply copy and paste the example configuration file on page 15. Don’t forget to save the now edited file so that the website updates. The code is commented, for your experimentation and understanding.
Great, you have a front page, but not much else. What good is a website without any content, just like what good is a hyung without strong stances? Let’s create a first blog post and call it hello-world:
> hugo new posts/hello-world.md
- Now, navigate to the hello-world post in your code editor, which is in the content, then post folder. You’ll see that there is this interesting heading, with the title, time, and other options:
---
title: "Hello World"
date: 2021-07-11T17:52:30-04:00
draft: true
toc: false
images:
tags:
  - untagged
---
- The title is pretty self-explanatory. The date was the exact time when you entered the command in step 10, to create the “Hello World” post. The draft option is what hides or shows this post to the world when we make the website live. Table of Contents is short for toc, the images option can be ignored, and you should add a tag, or a few, if you want.
Part 3: Writing Content in Markdown
Using Markdown is different than using an application like Microsoft Word, where you click buttons to format words and phrases, and the changes are visible immediately. When you create a Markdown-formatted file, you add Markdown code to the text to indicate which words and phrases should look different. A piece of software, such as Hugo, interprets this notation and makes it look as intended on your website. Here is a little table inspired by Markdown Guide’s Cheat Sheet:
| Element | Markdown Code | Markdown Appearance |
|---|---|---|
| italicized | *italicized* |
italicized |
| bold | **bold** |
bold |
| italicized & bold | ***italicized & bold*** |
italicized & bold |
| headings | # heading 1 |
# heading 1 |
## heading 2 |
## heading 2 | |
### heading 3 |
### heading 3 | |
| code | this is already code |
code |
| lines of code | ``` |
will not render in a table |
lines |
||
of code |
||
``` |
||
| blockquote | > block quote |
will not render in a table |
| list | - one |
- one |
- two |
- two | |
- three |
- three | |
| ordered list | 1. first |
1. first |
2. second |
2. second | |
3. third |
3. third | |
| link | [title](http://www.example.com) |
title |
| image |  |
 |
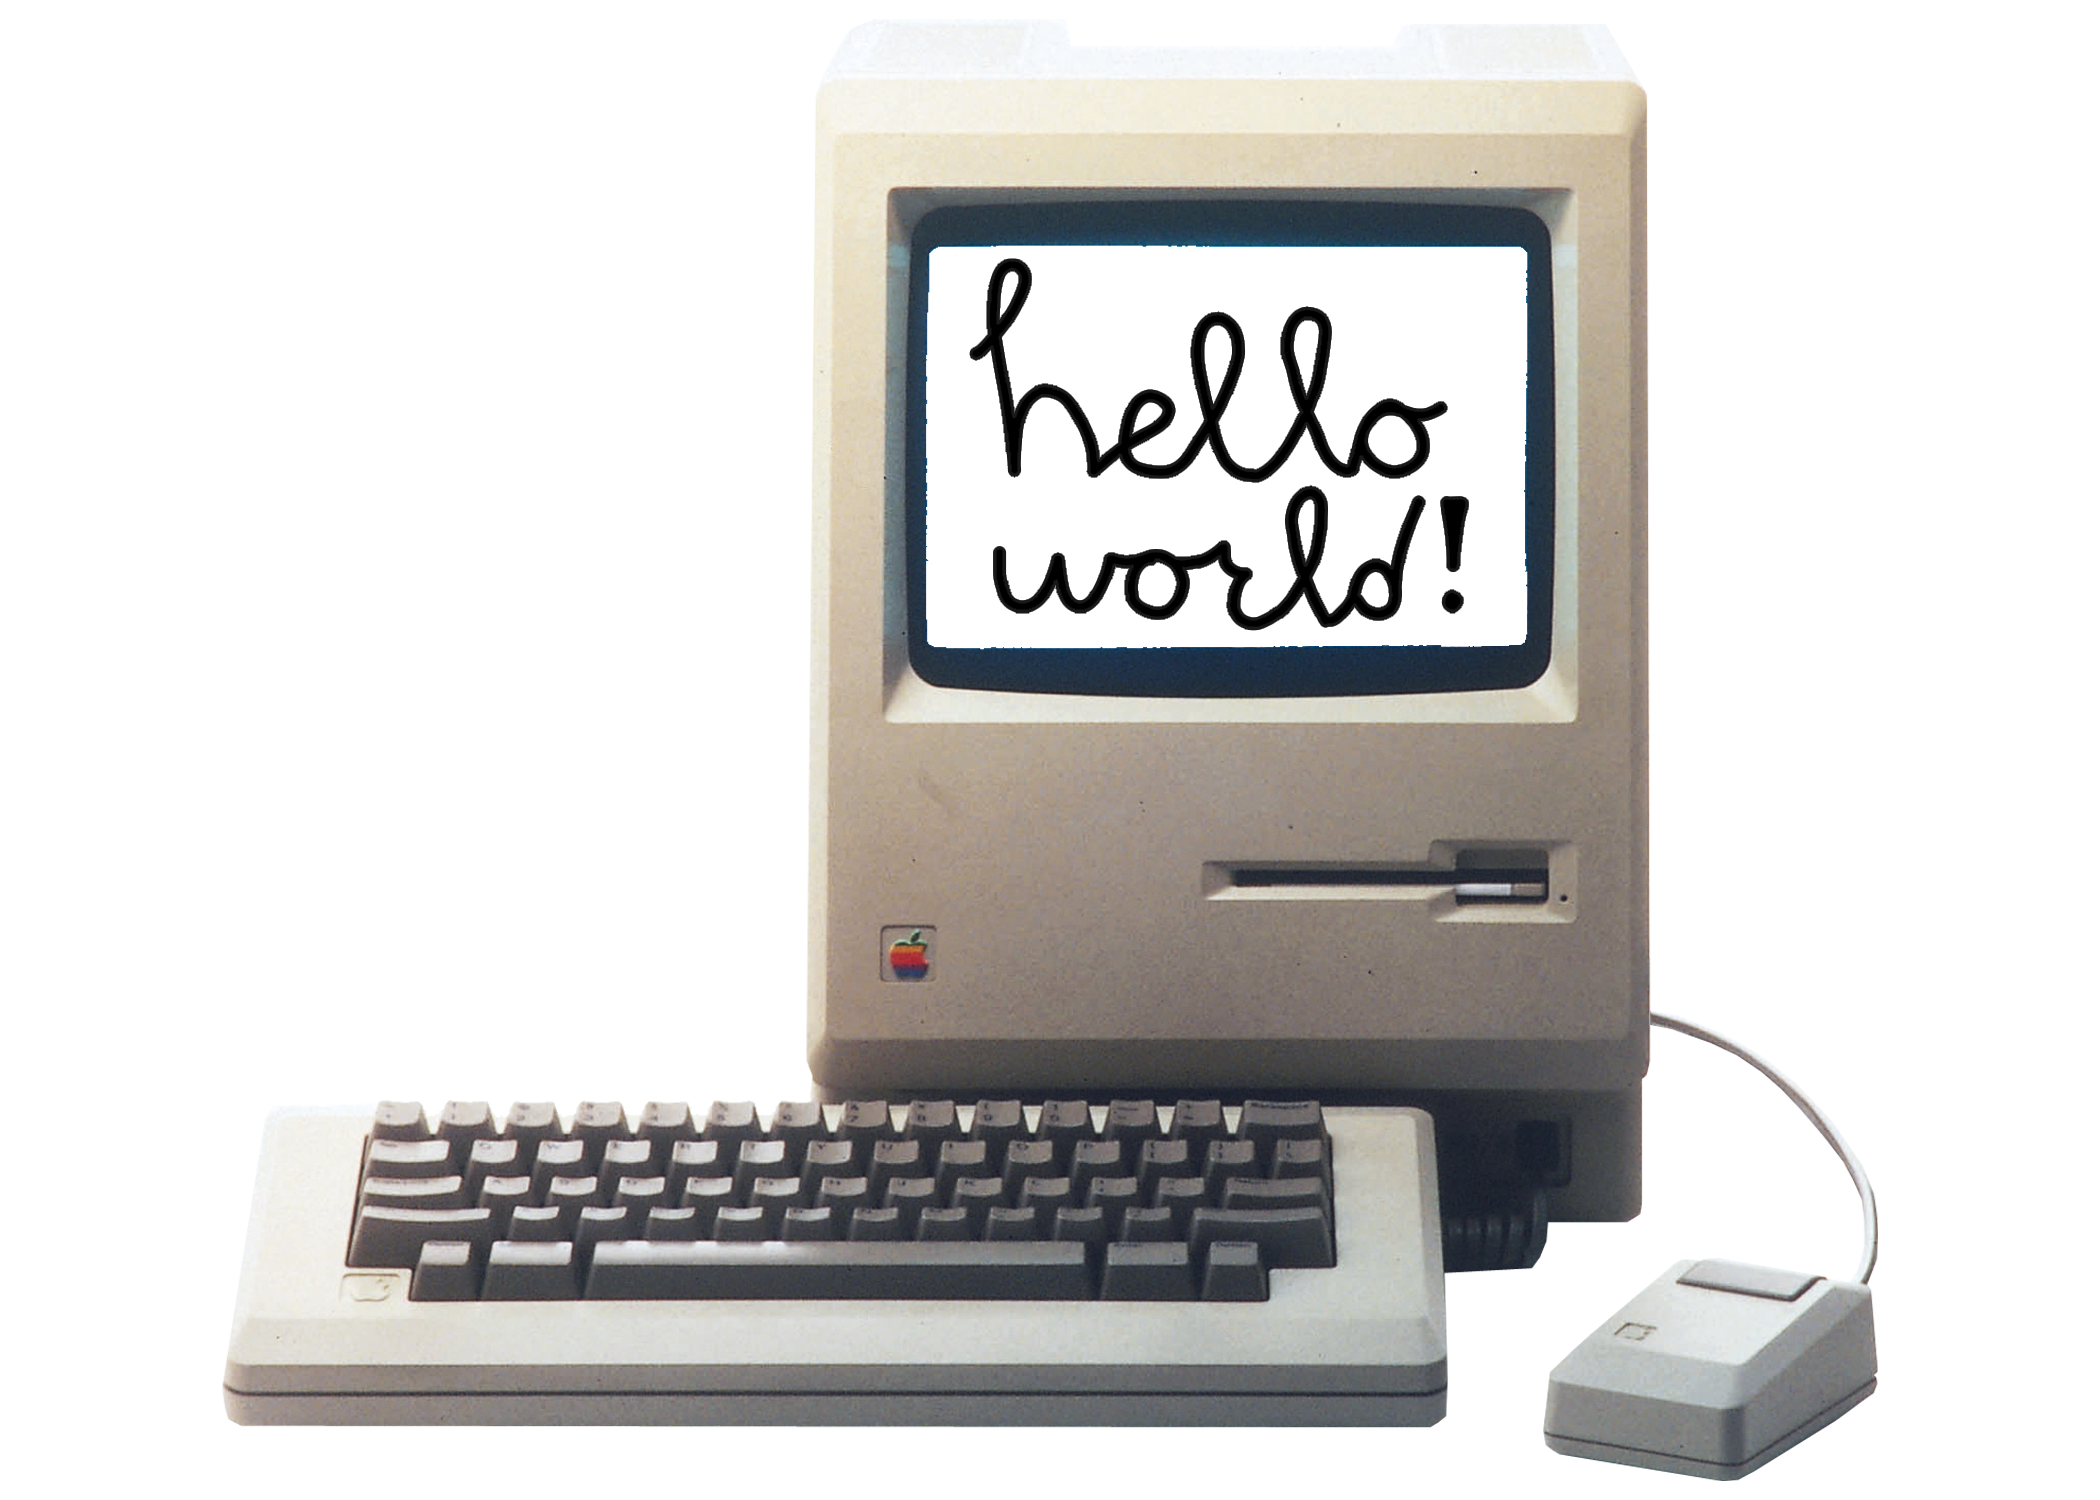
Applying this to the “Hello World” post, there are no limits to our creativity:
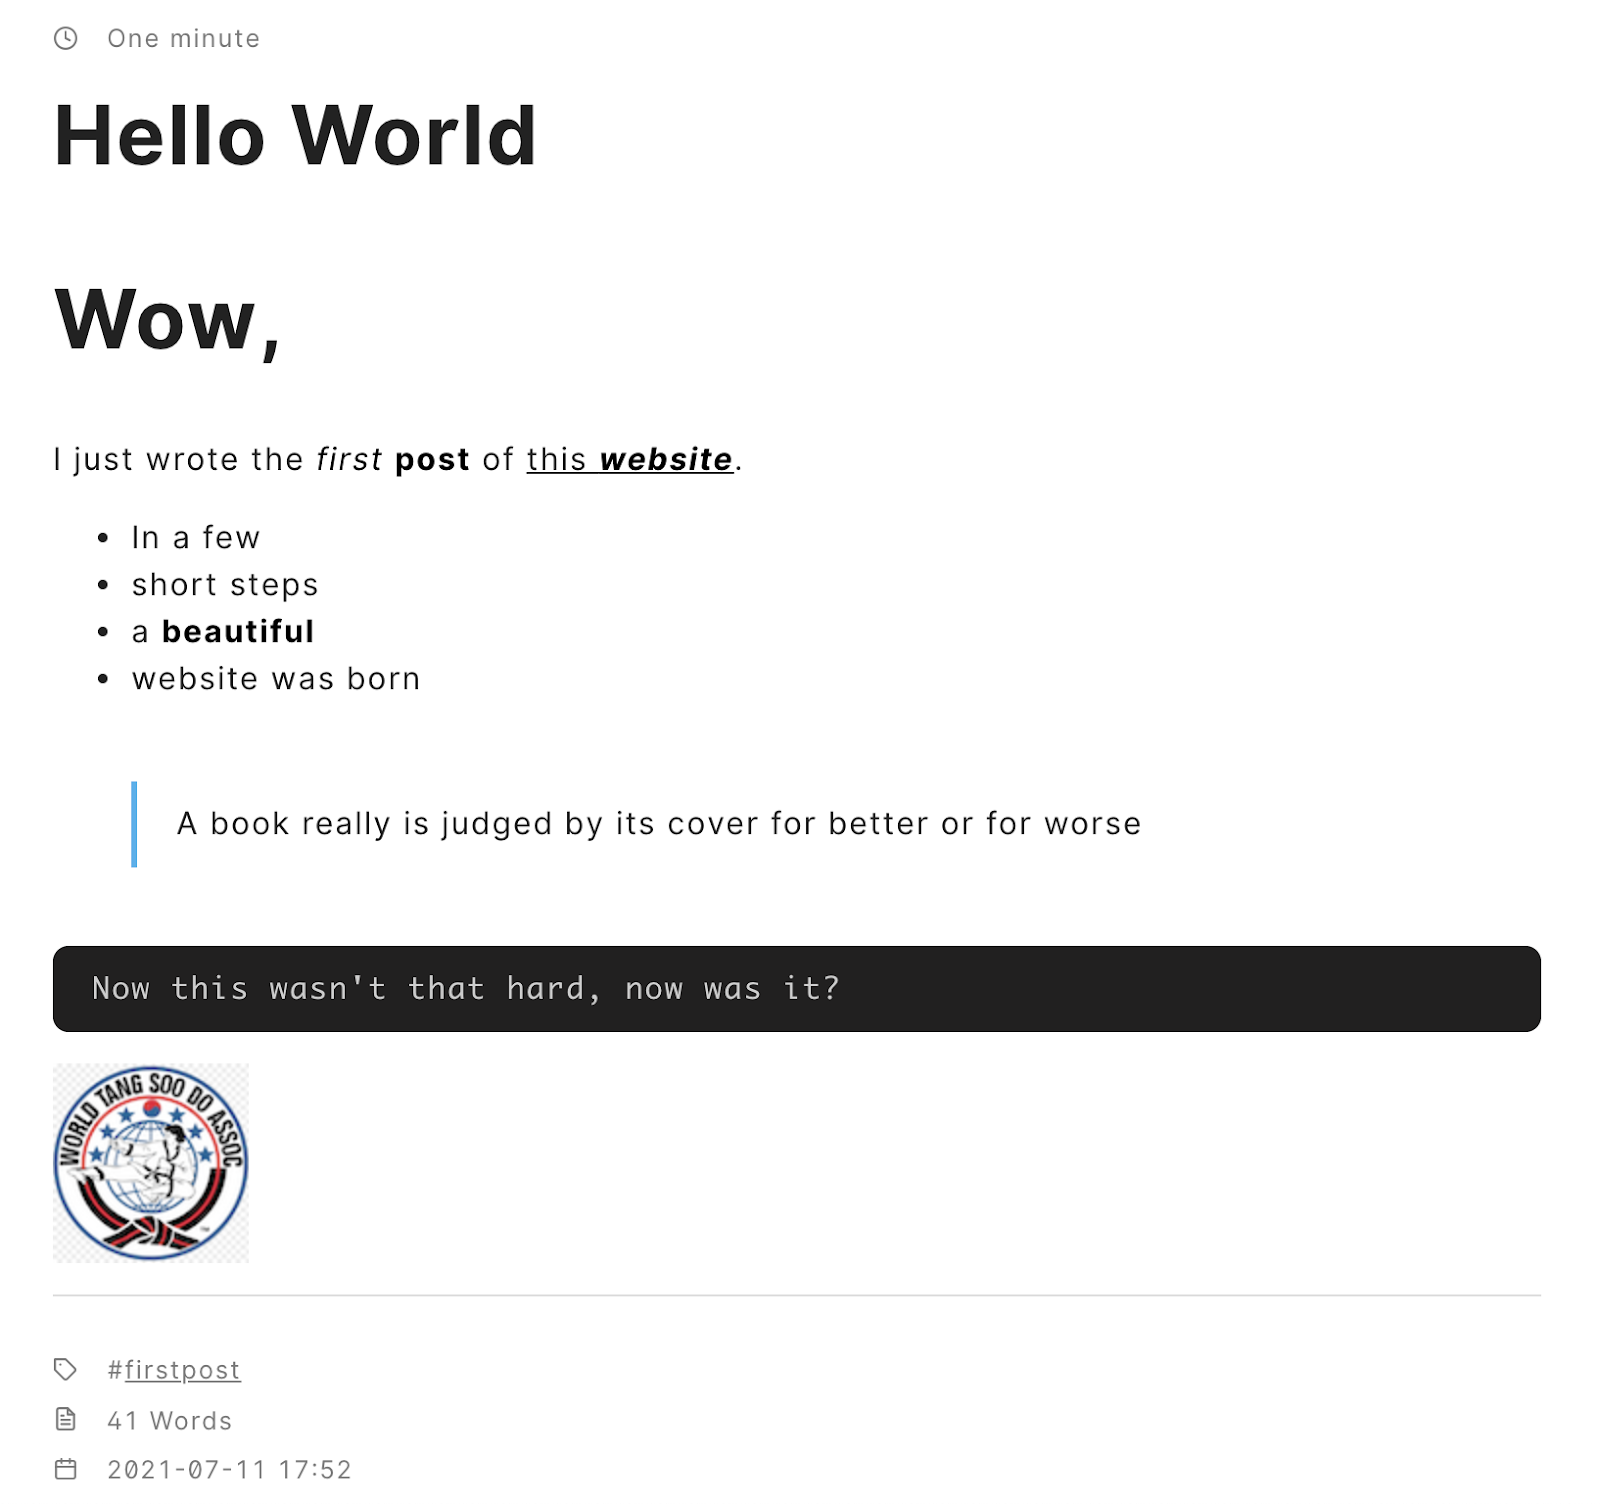
hello-world.md looks like this:
---
title: "Hello World"
date: 2021-07-11T17:52:30-04:00
draft: true
toc: false
images:
tags:
- firstpost
---
# Wow,
I just wrote the *first* **post** of [this ***website***](/).
- In a few
- short steps
- a **beautiful**
- website was born
> A book really is judged by its cover for better or for worse
`Now this wasn't that hard, now was it?`

Part 4: About the Structure of Our Website
Here is the structure of the website so far (I’ve omitted some things for clarity). The items with the asterisk in from of them (*) are the things that we’ve edited or created apart from the original website structure:
How to interpret this chart:
.  — the . means the current directory or folder.
├── folder2 (/folder2)
│   └── folder3 (/folder2/folder3)
│       └── image.png (/folder2/folder3/image.png) — image.png is in
folder 3, which is in folder 2, which is in the current directory.
For our website:
.
├── archetypes
├── *config.toml
├── content
│   └── *posts
│       └── *hello-world.md
├── data
├── layouts
├── resources
├── static
│   └── *img
│       └── *wtsda.png
└── themes
    └── hello-friend-ng
Looking back at our “Hello World” post, Markdown was used to insert the image—. Hugo defaults to the static folder as a place for items that can be inserted, like images. I made an image folder and names it img for organizational purposes. Then, I dragged the image into that folder with the Finder application. As a result, the path for the Markdown code was /img/wtsda.png instead of static/img/wtsda.png.
The “Hello World” post itself has the path /content/posts/hello-world.md. Just like for the image, however, Hugo defaults to the content folder as the place for pages and blog posts. So, in reality it is posts/hello-world.md. This can be seen in the command we used to create the post (don’t run this command again, I just put it in below as a reference):
> hugo new posts/hello-world.md
Part 5: Making an About Page
What’s the use of having a website without an “About” page to explain what you or your organization is? There would be no credibility without one. So it is only natural to make one.
- Similar to making the “Hello World” post, we are going to use a Hugo command to create your “About” page:
> hugo new about.md
- How can we actually look at this page, since it isn’t a post? Well, we have to edit our config.toml, so that it displays an “About” in the menu bar. Edit the end of the config.toml, just under the command which creates a menu:
      [[menu.main]]
        identifier = "blog"
        name       = "Blog"
        url        = "/posts"
# Here is the part we are adding:
# Make sure it’s indented correctly!
[[menu.main]]
      identifier = "about"
       name       = "About"
       url        = "/about"
- Then, just like we did for the “Hello World” post, write some content for it in Markdown.
Part 6: Backing up, Updating & Deploying your Website
With that out of the way, your website is fully functional—only on your computer, that is! We have to publish it, or in other words, make it live for the world to see.
First of all, change the draft: true to draft: false in the header of the posts and pages that you want everyone to see.
We need to manually add the files for git to see them:
> git add .
- Then, git needs to know that this is a commit, or in other words, a save of the data. Write a message so that it’s easier to reference later, should any mistakes come up.
> git commit -m 'your message'
- Upload (push) the data to your repository:
> git push
We still need to figure out how to actually make it live, since right now, it’s just sitting in that repository as a bunch of code and files. Fortunately, there is this tool called Netlify, which uses data from the GitHub repository, to make a website which updates everytime you push new data to your repository.
Go make an account on Netlify, signing up with your GitHub.
Next, to actually make the website, press the “New site from Git” button. Then select our single repository, and leave all the options at their defaults. And we should have a working website? But when we click on the link Netlify has provided for us, nothing comes up. That’s because there is a thing left to change in config.toml.
How about we change the link to something that we can actually remember, before editing the config.toml. You can make a custom link for free with Netlify, buy one from a service such as Google, or use one that you already own. To change the domain through Netlify, click on the “Domain Settings” button, then press the “Options” button, and change the domain from there. If you own, or have just bought your own domain, press the “Add custom domain” button.
In config.toml, edit the “baseurl” line by changing “localhost” to the link you are using for your site:
From: baseurl = "localhost"
To: baseurl = http://my-new-url.org
- Now, push those changes again using steps 1-3. Now you website should be live and functional! It also looks just as good, if not better, on your phone.
Part 7: Restoring and Modifying your Website in the Future
What if on one fine day your computer just crashes permanently. What if you just accidentally, or purposefully close Terminal and the code editor. It may seem like all of your progress is forever lost. How do you revert to the state you had previously, to continuing working on your amazing, new website?
If you haven’t worked on your website in a while, and something happened to your computer, that caused you to reinstall the operating system, repeat “Part 1: Initial Setup” being sure to skip steps 1 and 2. Those first steps are skipped because you did them already, and they’re safe on the cloud. With all of the tools installed again, continue to the next step.
Otherwise, with Terminal and the code editors open again, enter into the project’s repository with the following command:
> cd mysite
Start the website following steps 5-7 in “Part 2: Creating and Working on the Website”.
After you are content with the edits you’ve made, follow steps 1-4 keeping in “Part 6: Backing up, Updating & Deploying your Website”.
That’s it, repeat these steps should anything happen. Eventually, with enough practice, all of this will become muscle memory.
The End
Note: this ending is intended for my target audience, the World Tang Soo Do Association testing panel, which will test me for black belt in Septmber of 2021. This is why some of the terms are in Korean and are not easily relatable to others.
With the first version of your website successfully published, give yourself a pat on the back!
After hours, or even days of blood, sweat, and tears, you have successfully learned the moves in the Sae Kye Hyungs of website building by making a beautiful, and at the same time, functional website all by yourself! You are that one in a hundred Gup student who persevered despite the difficulties and stuck with Tang Soo Do, becoming a Cho Dan. Except in addition to Tang Soo Do, you managed to build a website that actually works, and you mostly understand how and why it functions!
Now it is up to you to pass the probationary period, and ascend the ranks if you so choose by developing your website further.